Showing posts with label Coconut Flour. Show all posts

Keto Chaffles - Low Carb No Cheese No Sweetners#PotluckParty

What is a Chaffle?
It’s a waffle made with cheese hence the play on the word waffle starting with a ch instead of a w. There have many variations, all over the internet for Keto chaffle which is also a keto version of a wonder bread. All who follow a Keto/Low Carb diet do not incorporate flour which is high in carbs. Instead of having regular flour bread and other goods, it's always flourless in keto. Flour's made from coconut, almond , cashew, flaxseed, chia seeds ..to make bread's etc.  
Chaffles have overtaken the Keto world by a storm? You will find numerous variations of the same on the internet.. be it Facebook, Google or YouTube, every Keto follower will make their own version to enjoy in their keto diet. When you are on a keto diet, bread, pancake, cakes etc.., are things that one craves for after sometime, so for every normal flour goods you will find a keto replacement.

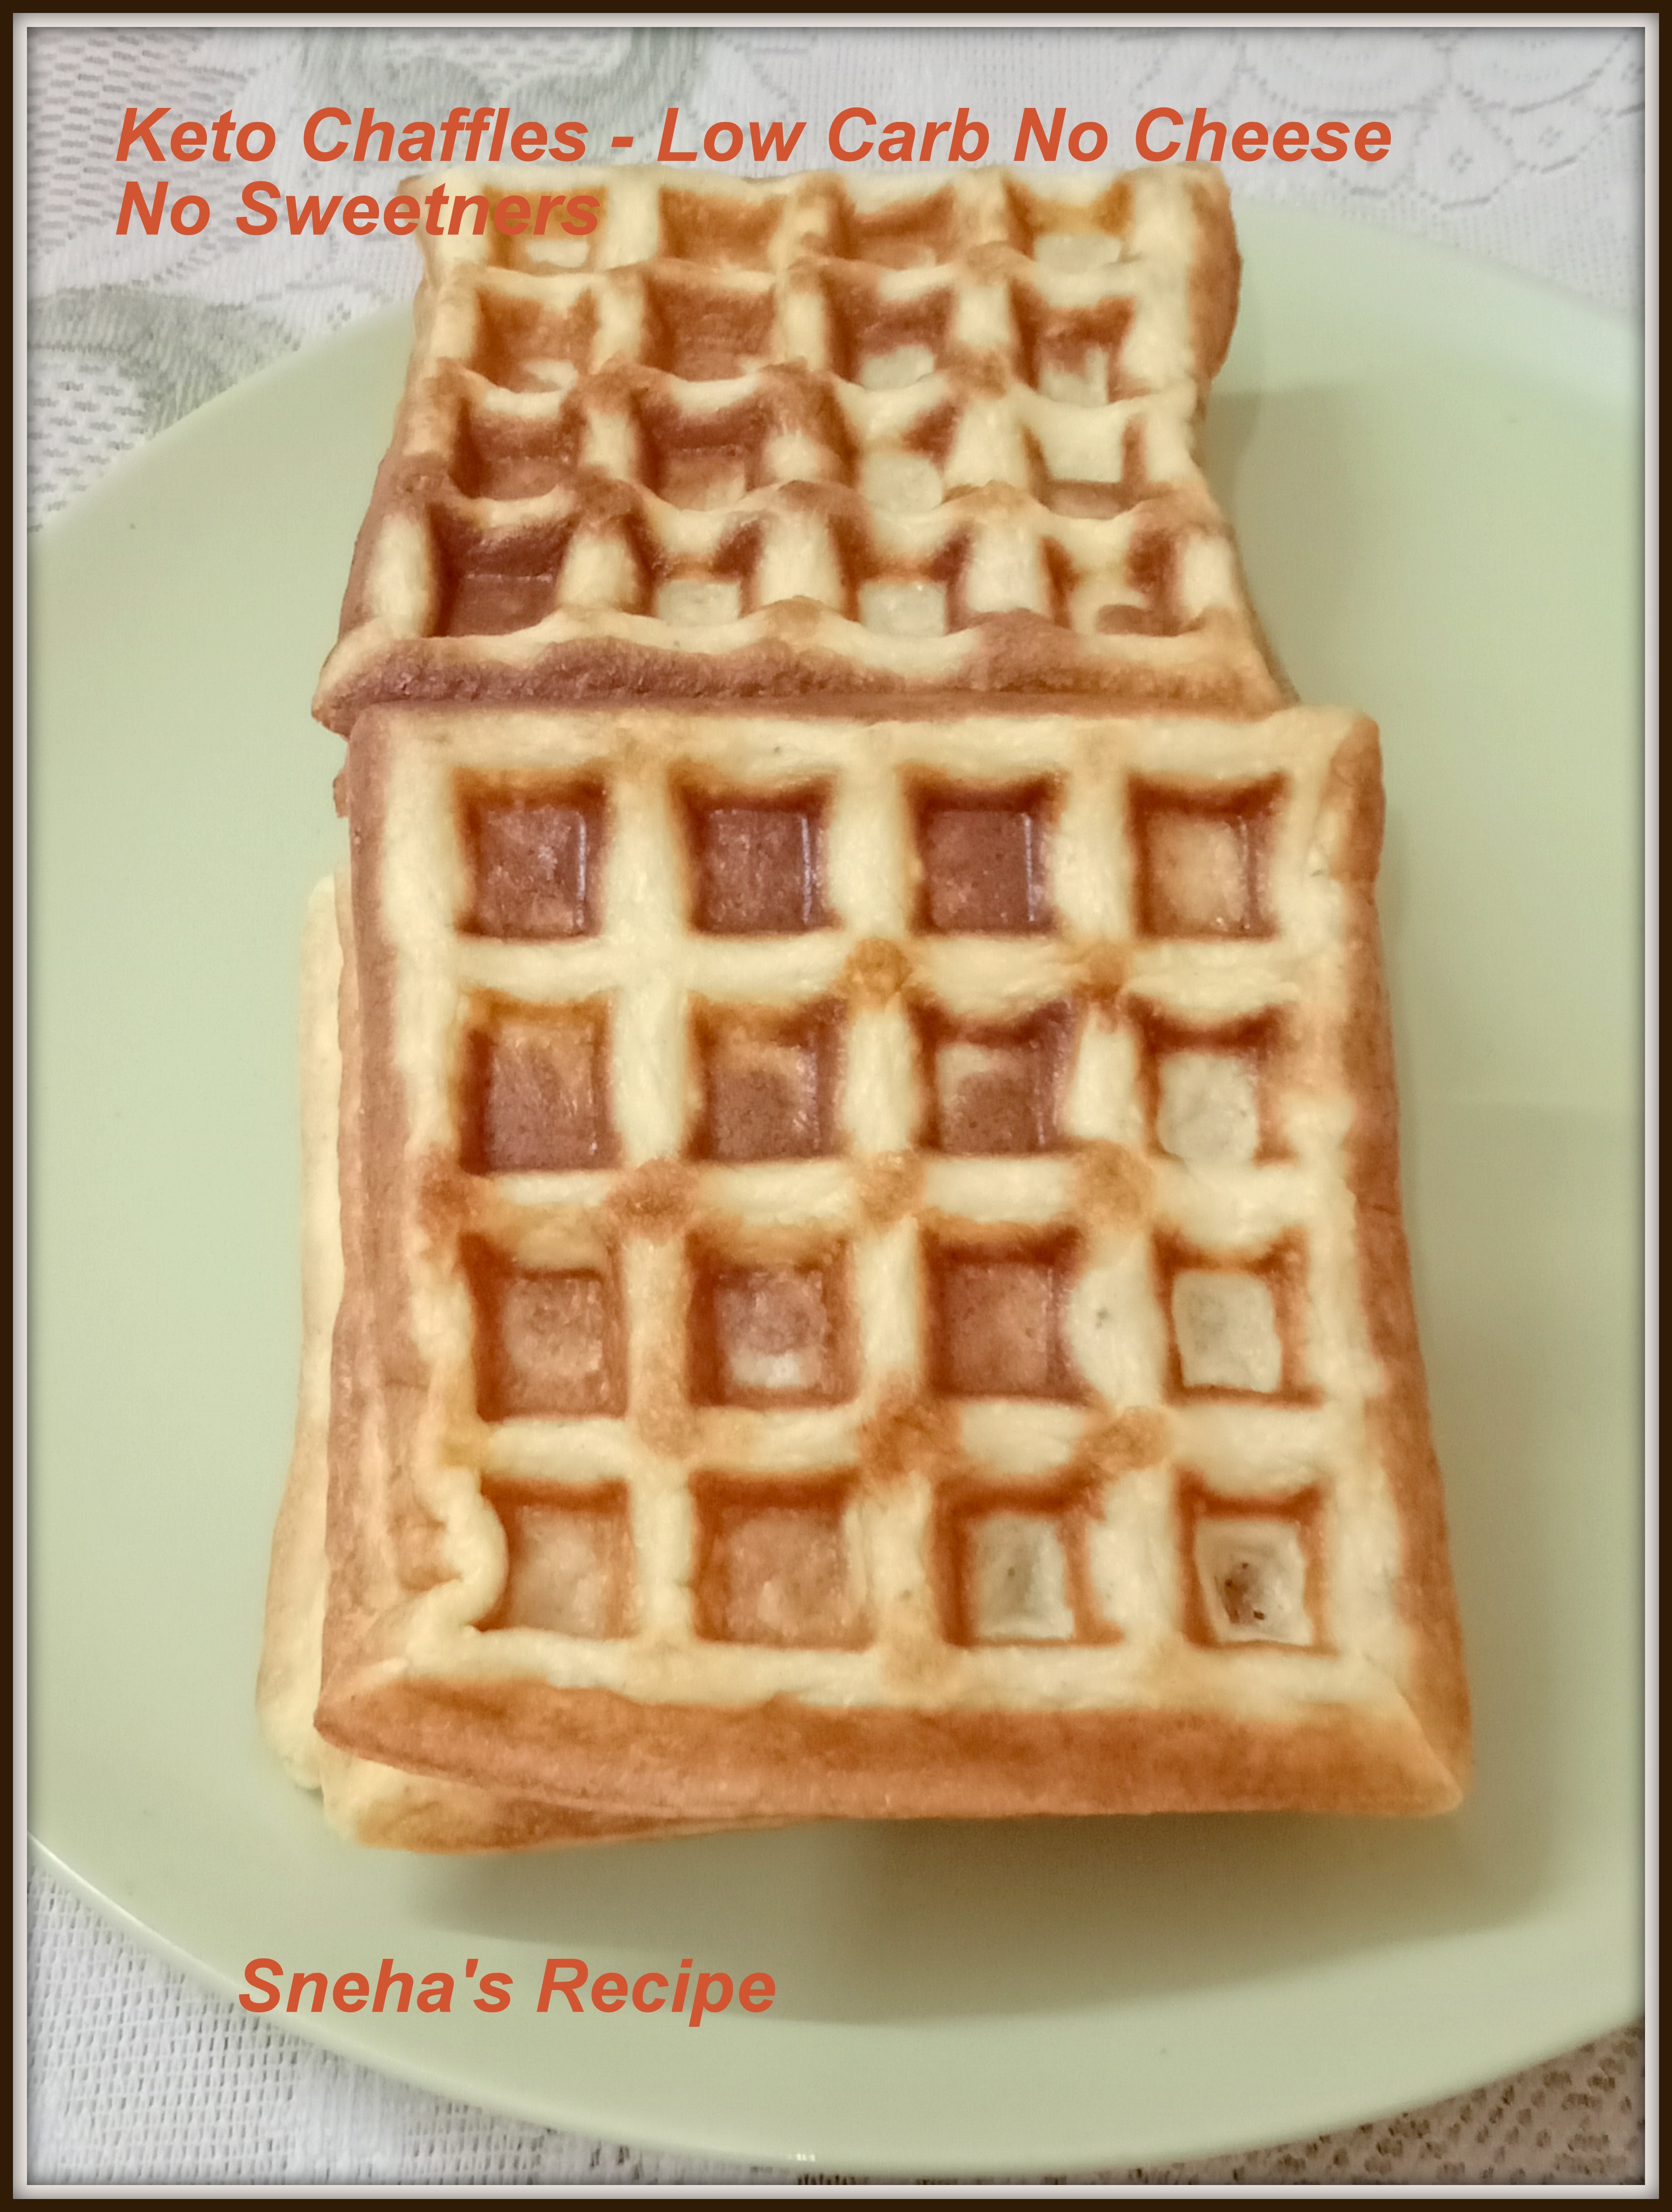
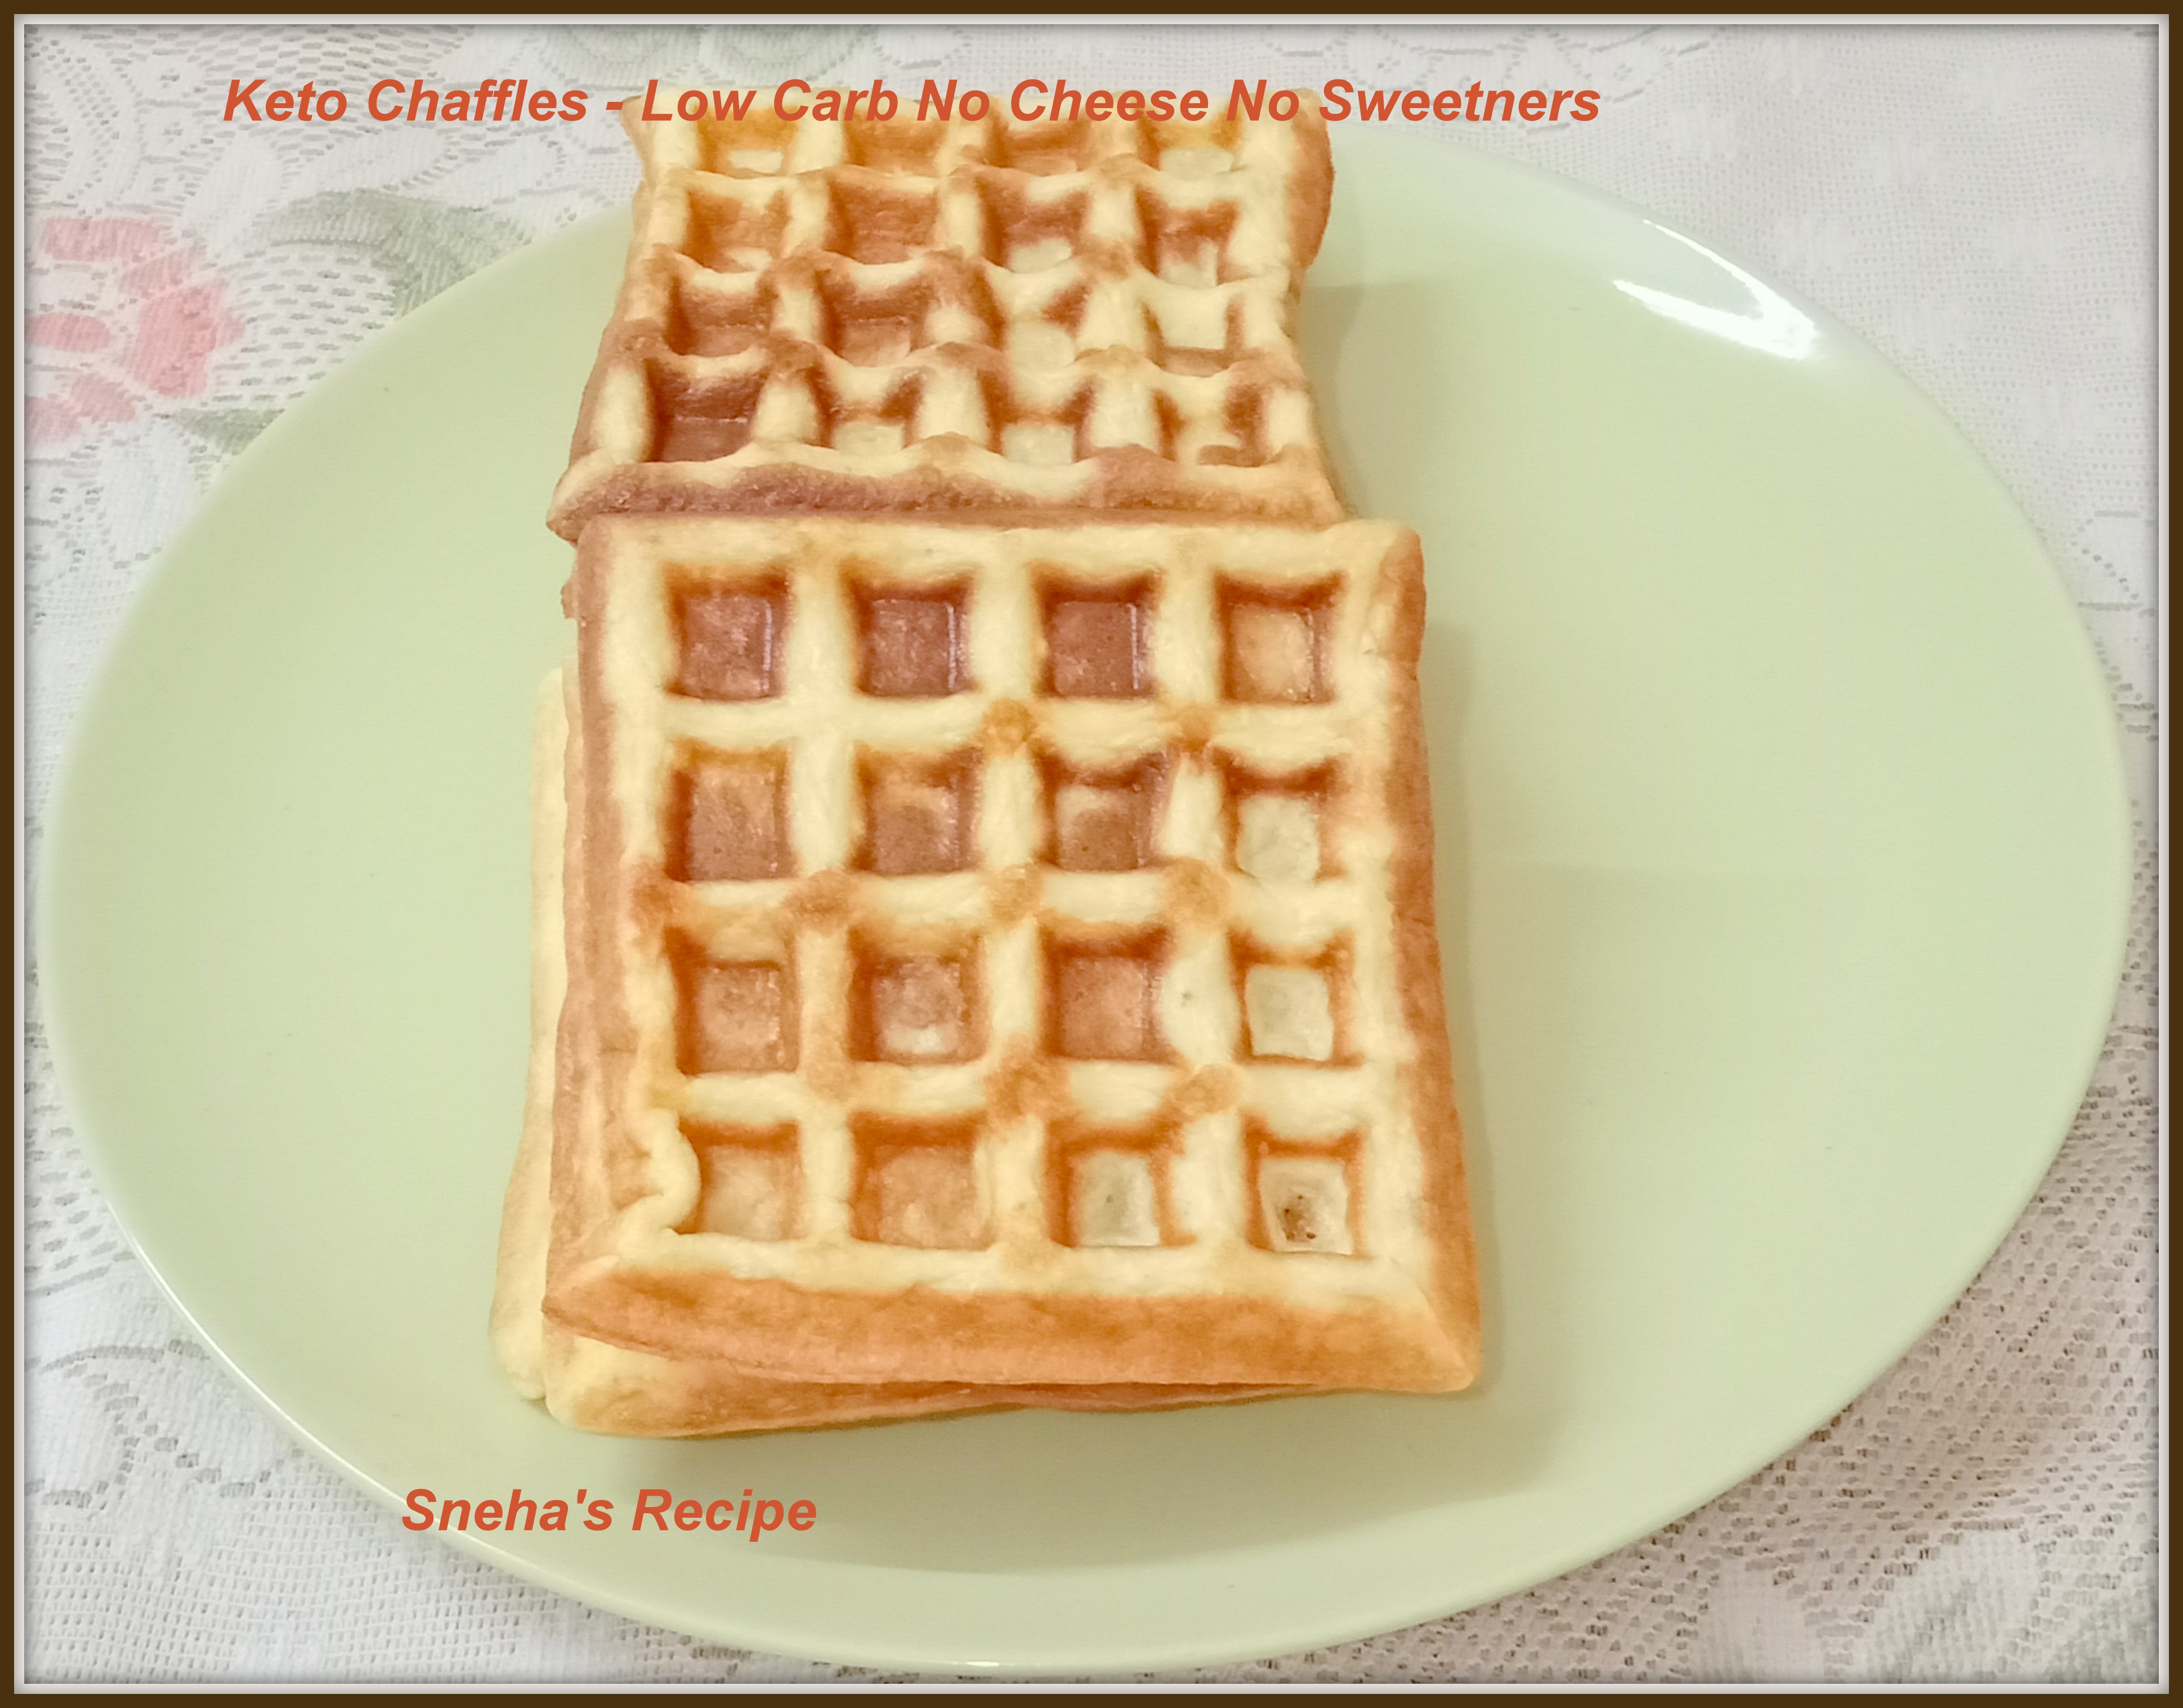
In my version of Chaffles, I have not used cheese or any type of keto sweeteners. I have used this to make sandwiches...check this recipe here.
If you are following a Keto Diet then this recipe is perfect for you. These are light and delicious. You will not miss Waffles.. that I can assure you. 

You can use chaffles for a Keto hamburger bun, Sloppy Joes, hot dog bun or to make a sandwich. It also make fantastic breakfast sandwiches and a whole lot more as well. 

I have seen many using a Dash mini waffle maker, which is the perfect size for the Chaffle recipe. Since I already have a regular waffle iron, I did not want to invest in buying one just to make Chaffles, might as well use what you already have. 
The best part of making Chaffles is that they freeze very well. They stay good in the freezer for more than a month to three months. These come handy just when you want them. You can reheat them in the waffle maker or microwave or a pop up toaster. I reheat them in my air fryer, they are crisp and fresh to use on reheated. These take just 30-45 seconds to reheat. 

Makes 7 Chaffles
Ingredients

6 Eggs - beaten
1/3 Cup Keto Pasteurized Mayonnaise -recipe will follow
½ Teaspoon Baking powder
2 Tablespoons Coconut flour
½ Teaspoon Salt to taste Seasonings of your choice!
¼ Teaspoon Garlic Powder
¼ Teaspoon Onion Powder
¼ Teaspoon Cinnamon powder


Method
Whisk the eggs well, then add in the mayonnaise and whisk until well combined, then add in baking powder, coconut flour and mix well. Then goes in all the seasonings, like salt, black pepper powder, onion , garlic and thyme powder. Can add whatever other seasonings of your choice.
Heat the waffle maker and when heat, grease the waffle iron with olive oil or butter. Pour the batter ( do not overfill or will the overflow and it will messy to clean). Fill all the gaps/holes and close the waffle maker.
It takes about 3 - 4 minutes for the chaffle to reach a golden brown color ( depending on the waffle make). Once it is done, it should be easy to remove from the waffle maker.
Don't have a waffle maker, or do not wish to make chaffles then use the same batter and make pancakes using a non stick pan.
These are light and delicious.

Macros for 2 Chaffles: Without butter: Cal 218, Net Carbs 2 Fiber 1, Fat 20, Protein 8.
Labels: Keto, Chaffles, Waffles, Mayonnaise, Egg, Coconut Flour, Low Carb,Garlic Salt, Onion Powder, Cinnamon, Potluck Party, International CuisineSue of Palatable Pastime invites us each month to join her in a Potluck Party. No themes, no rules just bring a dish and share it. Let's see what the other's brought to this Party.
Keto Chaffles - Low Carb No Cheese No Sweetners from Sneha’s Recipe
Almond Butter Chicken from A Day in the Life on the Farm
Easy Spring Dessert Board from Magical Ingredients
Cauliflower Pizza from Patyco Candybar
Cold Soba Noodles from Palatable Pastime

NUTRITIONAL DISCLAIMER
Please note that I am not a medical or nutritional professional. I am simply recounting and sharing my own experiences on this blog. Nothing I express here should be taken as medical advice and you should consult with your doctor before starting any diet or exercise program. I provide nutritional information for my recipes simply as a courtesy to my readers. It is calculated using https://www.myfitnesspal.com
.

Continue Reading
3 comments
Share:

Bora Berry Tart#BakingBloggers

Bora berries are a popular fruit from India. It is commonly found at road side carts. 
As kids we use to buy this fruit to eat after school and enjoy it with salt. I go climbing the forest hills every day this fruit is widely available there, we collected these and made this tart for my friends. 

Ingredients
For the Shortcrust

200 Grams All Purpose Flour
100 Grams Butter

A Pinch Salt 
1 Tablespoon Water

For the Coconut Filling

1 Tablespoon Butter - softened
1/4 Cup Sugarcane Jaggery
1 Egg
1/2 Cup Coconut flour - Homemade
50 Grams All Purpose Flour
Pinch Cinnamon powder  & Nutmeg powder

1 Tablespoon Milk
1/2 Cup Bora Berries - deseeded and chopped
Bora Berries for garnishing as required

Method

Mix all the ingredients to make the short crust pastry. Work the dough well out and smooth and let it stand for at least 1 hour in refrigerator. 
Remove the dough from the refrigerator (if refrigerated longer than 1 hour, let stand at room temperature until workable). Unwrap and roll out between 2 lightly floured large sheets of parchment paper or plastic wrap to a round according to the size of the pan ( used a 6.1/4 inch tart pan). Transfer the dough to the tart pan. Ease the dough into the pan corners and press the dough against the fluted sides of the pan. If some sections of the edge are too thin, reinforce them by folding the excess dough back on itself. Run the rolling pin over the top of the tart pan to remove the excess dough. Prick the bottom and sides of the dough all over with a fork. Set the dough-lined tart pan on a large plate and refrigerate for 20 minutes.

Preheat oven to 180 degrees . Set the dough-lined tart pan on a baking sheet, press a  foil into the frozen tart shell and over the edge and fill with  ceramic pie weights or beans. Bake for 15 minutes, rotating halfway through the baking time. Remove from the oven and carefully remove the foil and weights. Continue to bake until deep golden brown, 5 to 8 minutes longer. Set the baking sheet with the tart shell on a wire rack and cool to room temperature.

In the meanwhile let's prepare the filling. 

In a bowl mix butter, jaggery till smooth. Add the Coconut flour, flour, eggs, milk and cinnamon and nutmeg powder. Mix it all well add  the  chopped bora berries and  fold in well.
Once the tart shell is cooled completely then fill the coconut paste mixture and arrange the bora berries on top. 
Bake the tart for about 35-40 minutes or until golden at 180 C. Do the poke test to see if it's done in the center (if anything sticks on the fork or tooth pick, it will need some more baking time).  
Cool it and slice it
Enjoy!!
My Notes
I made my own Coconut flour, by drying the scraped coconut in the oven for 30 minutes a 100 C. Then  ground the dried coconut to a fine flour. Store it in a airtight container.
Lables : Tart , Baked, , Bora Berry, Homemade, Coconut Flour, Jaggery, Baking Bloggers, Healthy, Sweets & Desserts

Baking Bloggers

Baking with Summer Berries

Continue Reading
7 comments
Share: