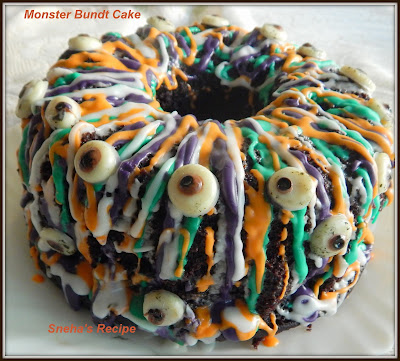
A super fun and easy Halloween Monster Bundt Cake! All you need is a few ingredients to make this fun Monster Bundt Cake and most important is candy eyeballs which are homemade! I have used my Homemade Chocolate Cake.For The Homemade Chocolate Cake Mix
Dry Ingredients
200 Grams All Purpose Flour
20 Grams Corn Flour
400 Grams Caster Sugar
90 Grams Cocoa powder ( Dutch Process)
7 Grams Baking powder
7 Grams Baking soda
3 Grams Salt
Wet Ingredients
3 Small Eggs Or 2 Large
125 ML Vegetable Oil
2 Teaspoons Vanilla Essence
200 ML Warm Coffee
To Make The Butter Milk
225 ML Whole Milk
2 Teaspoons Lemon Juice or White Vinegar
Other Ingredients
For The White Icing /Glaze
3 Cups Icing Sugar
Milk as required
½ Teaspoon Vanilla Essence
Coloring Orange, Purple, Green
For Homemade Candy Eyeballs
White Chocolate
Dark Chocolate
Edible Black Color
Method
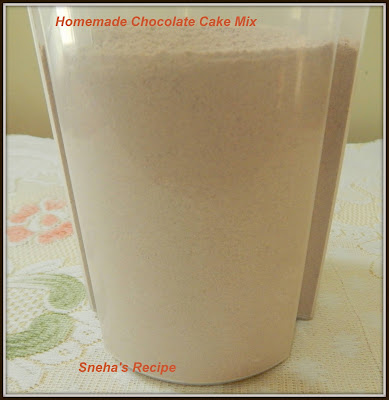
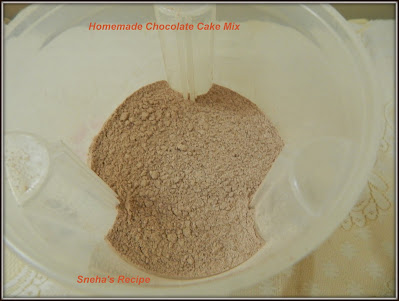
For The Homemade Chocolate Cake Mix
Whisk together the flour, sugar, cocoa, baking powder, baking soda and salt in a medium bowl. Store in an airtight container in a cool dry place for up to 3 months or until ready to use.
When Ready To Bake
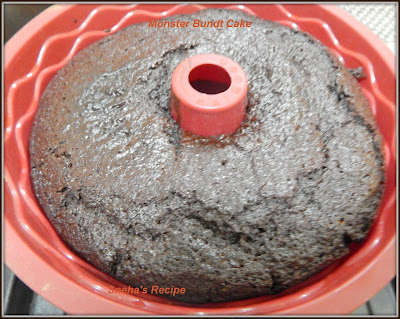
Preheat oven to 170°C. Prepare two 8-inch round cake pans or a 10 cup Bundt mold.
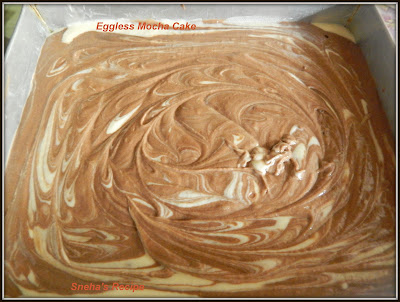
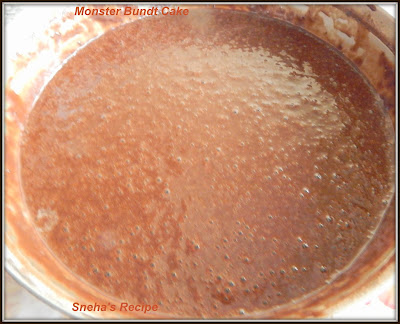
Whisk butter milk, oil, eggs, coffee and vanilla in a large bowl until well mixed and slightly frothy.
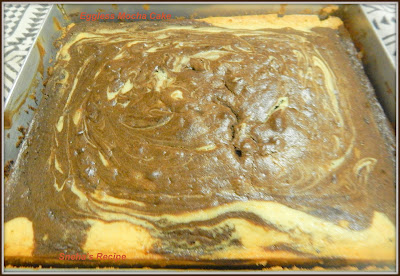
Add the dry mix and whisk until just barely combined and smooth (do not over mix). This is a liquidy batter. Pour cake batter in a well greased Bundt pan. Bake 60 - 70 minutes, or until a toothpick inserted comes out clean (baking time depends on the pan size). Allow to cool completely then invert onto a plate.
For The White Icing /GlazeMake the icing in a large bowl. Divide frosting into three/four bowls and add a different color of food coloring to each.
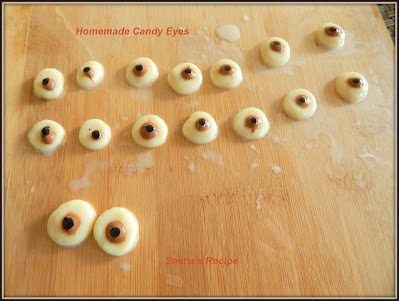
Add color to the glaze by mixing in a few drops of food coloring.Place each icing in a piping bag and cut a tiny hole in one of the corners. Drizzle frosting over the cake. Repeat with remaining colors. For Homemade Candy EyeballsMelt the white and dark chocolate as required. Pour this into a small piping. Take a plastic sheet, pipe the white dots, when it cools place a dark chocolate dot on top. Let this cool completely. With a tooth pick make a black dot on top of the dark chocolate.
My suggestion the black dot remains wet even after a day of drying, so mix it with the dark chocolate and then make a black dot. When I was placing the eyes on the cake the black color smudges. Add eyeballs all over the cake immediately after adding the frosting.
Serve and Enjoy!
Labels: Bundts, Bundt Bakers, Halloween, Chocolate, Homemade, Cake Mix, Candy Eyes, International Cuisine, American
#BundtBakers is a group of Bundt loving bakers who get together once a month to bake Bundts with a common ingredient or theme. You can see all of our lovely Bundts by following our
Pinterest board. We take turns hosting each month and choosing the theme/ingredient.
Updated links for all of our past events and more information about BundtBakers, can be found on our
home page.
Our Host for this month is Wendy from A Day in the Life on the Farm, theme is Halloween Bundts, thank you for hosting this event. Check the recipes our talented bakers have baked. Pat Y Co:
Boo...Chocolate-Coconut and Pumpkin Marble BundtMaking Miracles:
Chocolate Orange Swirled Bundt Cake Food Lust People Love:
Chocolate Spider Web Bundt Cake Palatable Pastime:
Dirt and Worms Bundt Cake A Day in the Life on the Farm:
Mini Pumpkin Bundts Sneha’s Recipe:
Monster Bundt Cake Culinary Adventures with Camilla:
No Bones About It Pumpkin Mini Bundts