Affogato - Vanilla Ice Cream With Espresso, Caramel Sauce And Salted Almonds


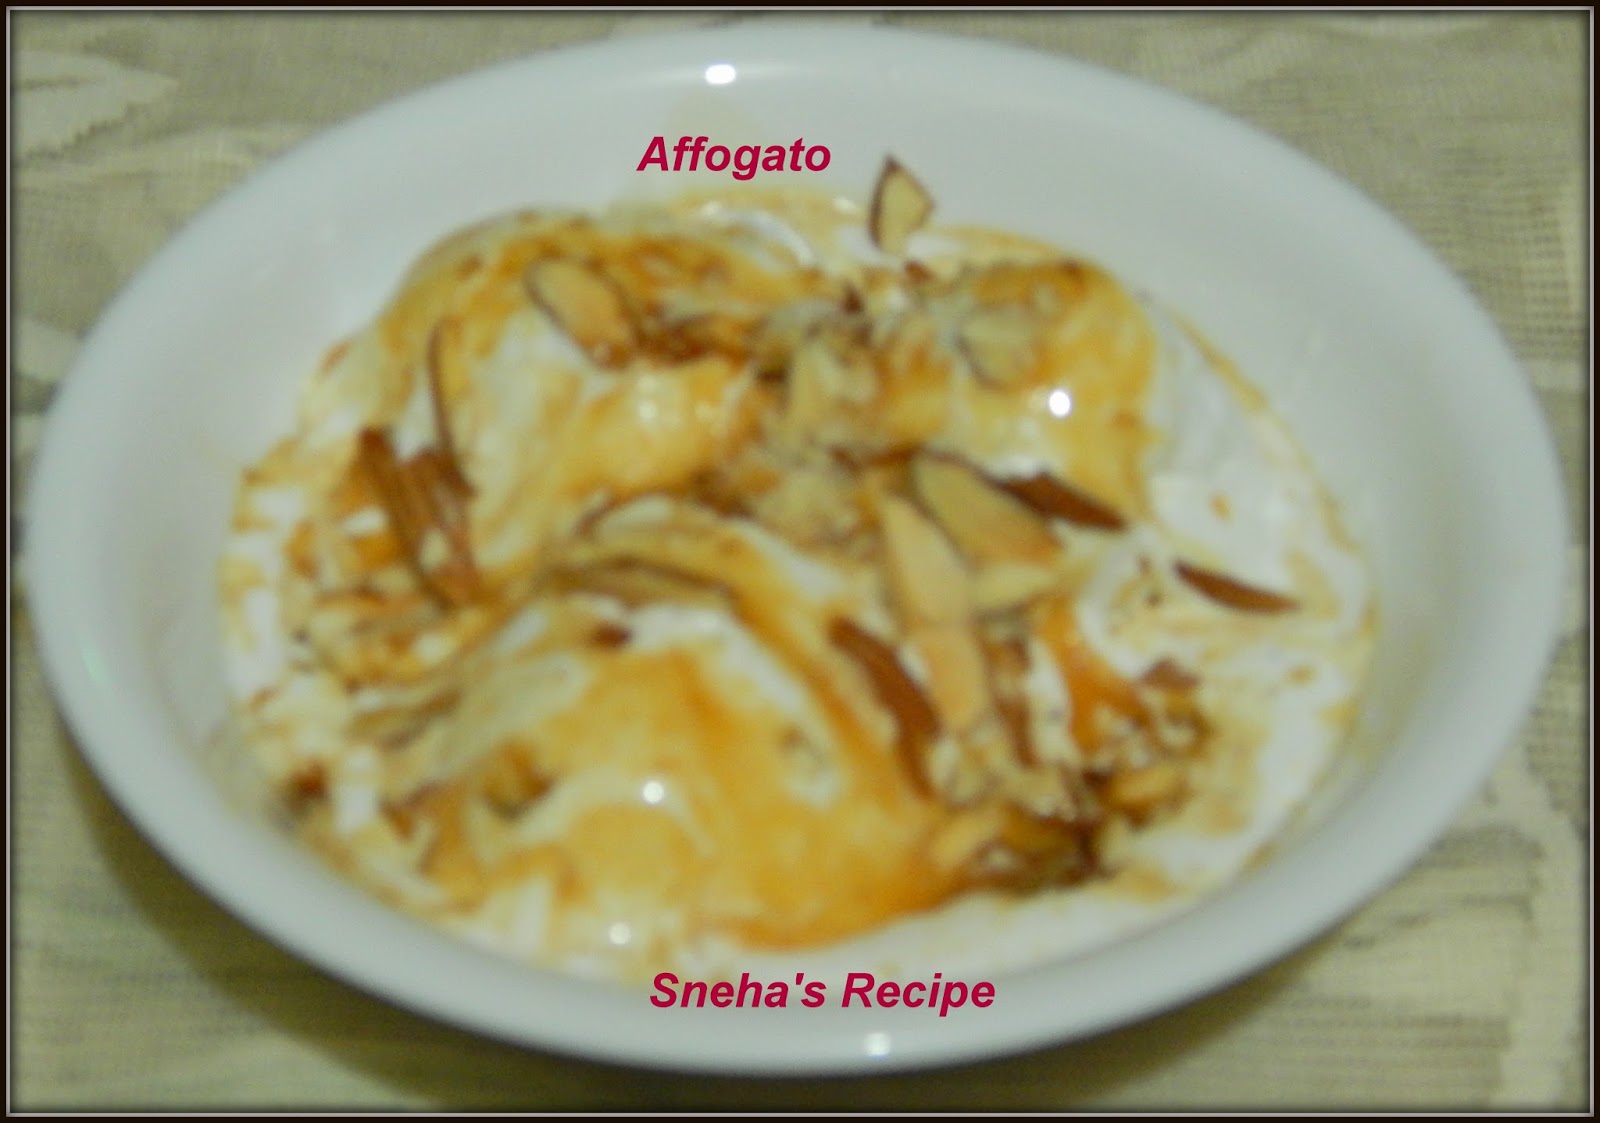
This classic Italian dessert is a coffee-based made with espresso and vanilla ice cream, gelato or sorbet. The word affogato means "drowned" in Italian.

This is an elegant, quick and easy, to make dessert. It taste divine and leaves a deliciously lingering taste of the salted caramel and almonds.

Ingredients
Eggless Vanilla Ice Cream - Homemade 
Espresso or strong coffee - chilled
Salted Caramel Sauce - Homemade Recipe below
Salted Almonds - sliced

Method

Scoop ice cream into dish
Pour espresso / strong coffee over ice cream
Drizzle caramel sauce over it and top with,  salted almonds and enjoy

Homemade Salted Caramel


Follow these easy steps to make  salted caramel sauce at home. Perfect for cakes, cupcakes, puddings, cookies, ice cream sundaes, cheesecake, glass desserts,  sweet breads ... endless... as you like it with !

This sauce should cool down completely before using it in any recipe. The caramel will thicken as it cools. Then you can heat it if required and use it.  This should be prepared a day before you want to use it.  This can be stored for 2 weeks in the refrigerator.

Ingredients
200 Grams Granulated Sugar
25 Grams Salted Butter
200 Ml Heavy cream
100 Ml Milk
3/4 Teaspoon Salt

Method

Mix the milk and cream together keep aside.

Heat granulated sugar in a medium saucepan over medium heat, stirring constantly with a wooden spoon.
Sugar will form clumps and eventually melt into a thick brown, amber-colored liquid as you continue to stir. Be careful not to burn.
Once sugar is completely melted, immediately add the butter. Be careful in this step because the caramel will bubble rapidly when the butter is added. 
Stir the butter into the caramel until it is completely melted, about 2-3 minutes. A whisk helps if you find the butter is separating from the sugar.
Very slowly, drizzle in heavy cream mixture while stirring. Since the heavy cream is colder than the caramel, the mixture will rapidly bubble or splutter when added.
Allow the mixture to boil for a minute. It will rise in the pan as it boils.
Remove from heat and stir in the  salt. Allow to cool down before using. The salted caramel will thicken once it cools down.

My Notes

 Make this caramel in advance. Make sure it is covered tightly and store it for up to 2 weeks in the refrigerator. Warm the caramel up for a few seconds in the microwave before using in a recipe.

Labels : Affogato, Italy, Sweets & Desserts, Ice Cream, Foodie Extravaganza Party, Homemade, Salted Caramel, Jams & Sauces

Foodie Extravaganza is a monthly party where bloggers come together to create recipes using the same ingredient. The host, this month it's Kathleen from Fearlessly Creative Mammas, picks an ingredient from the website The Nibble. If you're a blogger and would like to join in the fun, you can request to join on this Facebook page. Posting day is alway the first Wednesday of the month. If you'd like to see past recipes, you can follow our Pinterest board too.

Gooey Caramel Cake – - Fearlessly Creative Mammas
Easter Coconut Bird’s Egg Nests - Palatable Pastimes
Ooey Gooey Salted Caramel Cake - A Day in the Life on the Farm
Caramel Apple Granola - Hardly a Goddess
Caramel Apple Dip - Sew You Think You Can Cook
Banana Chia Pudding with Date Caramel - Caroline's Cooking
Affogato – Vanilla Ice Cream With Espresso, Caramel Sauce And Salted Almonds - Sneha's Recipes
Fa’ausi (Samoan Coconut Caramel Bread) - Tara's Multicultural Table

Continue Reading
3 comments
Share:

Eggless Vanilla Ice Cream

This delicious, creamy and smooth Eggless Vanilla Ice Cream is so quick and easy to make. This ice cream  is a no churn and you do not need of an ice cream machine or ice to make it. In summer ice creams are in great demand. Make this smooth ice cream ...  enjoy... a treat for kids and adults too.

Ingredients


500 Ml Full Cream Milk
4 Tablespoons Level Granulated Sugar
1 Tablespoon Corn flour
2 Tablespoons Heaped Milk powder
1 Teaspoon Vanilla essence
300 ML Whipping Cream

Method


Reserve 1/4 cup of milk and keep  the rest in a heavy bottomed pan on low flame to boil.
Dissolve the cornflour in the reserved cup of milk to smooth slurry and keep aside.

Stir the  milk continuously to prevent it from burning.
Once it reaches near boiling point,  take  4 tablespoons hot milk and mix it with the milk 
powder and make a smooth paste. 
Now add the sugar and stir till the sugar melts and the milk comes to a boil, add the milk powder paste and stir with a whisk,  to mix well, keep stirring for a 3 minutes.
Again stir the cornflour slurry to mix it well and  then add this to boiling milk and whisk continuously till it thickens and coats the spoon. Take it off the flame, add the essence and cool it, then chill it well for a good 2 hours in the freezer.
Beat cream with a hand blender till it forms soft peaks - about 3 to 5 minutes.

Once  the milk is chilled, beat it well with a hand blender till it light and smooth.
Now fold in the whipped milk and cream gently until it's well blended - about 4 - 5 minutes.


It should double in volume (see above pic)
Keep the ice cream in the freezer in a airtight container for 3 - 4 hours. Take out and give it a good churn for about 3 to 5 minutes.

Return to the freezer and  and keep it for 8  hours and again remove and beat it till it's light and fluffy (this fills the ice cream with air which  makes it light,  fluffy, creamy and smooth.)
After the final churn, transfer it to a closed  air tight container and freeze it for 12 or more hours depending on the temperature of your freezer.  This time I set it in a flat air tight container, since it will freeze faster.

Serve it and enjoy ..
Have a look at tomorrow's post  - Affogato - Vanilla Ice Cream With  Espresso, Caramel Sauce And Salted Almonds

My Notes 
Freeze ice cream in air tight containers which are flat  and not tall in  height, as this will freeze it faster which will prevent ice crystal formation.

Labels : Milk, Milk powder, Whipping Cream, Vanilla essence, Homemade, Eggless, Ice Cream

Continue Reading
3 comments
Share:

Air Fryer Chicken Biryani - Healthy and Delicious

Air Fryer Biryani is an innovative way of preparing healthy and less oil rice / food.  This is excellent for diet and health conscious people.  They need not avoid have this delicious biryani now. 

Ingredients

200 Grams Chicken boneless - cubed
1 Teaspoon Chilly powder
1 Teaspoon Biryani Masala
1/4 Teaspoon Garam masala
1/4 Teaspoon Turmeric
2 Tablespoons Mint leaves - chopped
2 Tablespoons Coriander leaves - chopped 

2 Green chillies - slit
1 Teaspoon Ginger garlic paste
1 Large Tomato - sliced
1/4 Teaspoon Shahjeera
1 Teaspoon Ghee
1 Tablespoons Lime juice
Salt to taste
1 Cup Yogurt
1/2 Cup Fried onions
A Pinch of Saffron or Tandoori color
For the Rice
1.1/2 Cups Basmati Rice
2 Cloves
1 Stick Cinnamon
1 Cardamon
1 Brown Cardamon
3 Peppercorns
1/2 Teaspoon Cumin seeds

Method

A Pinch of Saffron or Tandoori colour mixed in a tablespoon of water, keep aside.
Boil the rice with salt and spices and cook it till 70% done. Drain add a teaspoon of oil or ghee to it and keep aside to cool.

Preheat the air fryer at 180 degree C for 5 minutes.
Take a bowl and add boneless chicken, chilli powder,biryani garam masala and  turmeric  powder, chopped mint, chopped coriander, slit green chilly, ginger garlic paste, shahjeera, ghee, lime juice & salt then mix it, add half of the curd and mix it well again. Keep it aside for a hour. 
Then take the pieces of chicken with little of the marinade in a another bowl. 
Add rest of the curd to the remaining marinade and mix it well. 
In a tiffin box or a pyrex dish spread half of cooked rice, sprinkle little fried onions, half of curd mixture and arrange 2 to 3 slices of tomato repeat the process again add a layer of rice, sprinkle fired onions and arrange the slices of tomato to form layer 
add marinated chicken pieces again add fried onions also add saffron water on top of it. 
Dot it  a teaspoon butter , if you are not very diet conscious.
 Place the lid tiffin box/Pyrex dish,  keep it in the air fryer basket . 
Cook at 180 degree C for the first 10 to 12 minutes.  Then at 200 degree C for 15 to 20 minutes ( this time will vary according to the quantity  and size of the dish). After 15 minutes switch off the air fryer and let it rest in the air fryer for 5 minutes. 
Serve this hot. This biryani is slightly dry since it has less oil,ghee or butter and a healthy one with less fat and calories. Have this with raita and enjoy this healthy air fryer biryani.
Check this recipe that I made from this Biryani - 
Iraqi Parda Plau - Phyllo Pastry Wrapped Biryani

Labels : Air Fryer, Chicken, Rice, Healthy, Biryani

Continue Reading
16 comments
Share:

Air Fryer Nachos


These  crisp air fryer nachos with a tablespoon of oil,  are such a healthy treat.  Made these for a get together of my daughter friends.  Served them with Salsa Sauce they vanished in minutes. Today's diet and health conscious children these were just what they wanted.  


Ingredients
1.1/4 Cup Makki Ka Atta / Cornmeal flour
1 Cup All Purpose Flour
1/2 Teaspoon Salt
1 Tablespoons Oil
1/4 Teaspoon Oregano
1/4 Teaspoon Chilly Flakes
Warm Water as required to make a dough


Method

In a bowl add makki ka atta, all purpose flour, salt, chilly flakes, oregano and oil, make a dough with warm water, knead it to a smooth dough. Let the dough rest covered for 15 minutes. 
Divide the dough  and roll into a thin circle. 


Trim the sides and cut into a square.  Cut into strips
Then flour them well and place them over each other. 


Cut into triangles, prick it with a fork. 


Preheat the airfryer at 200 degrees and then arrange the triangles in the basket for 8-10 minutes.

My Notes:

When I baked the first lot in the air fryer they changed shape, i.e they started folding at the edges. 


I, then heated a tava/ girdle and place the triangles on it and baked it for a minute on each side on low flame.  Then cut it into triangles and place them in the air fryer basket, these retained their shape see pic,

Labels : Air Fryer, Healthy snacks, Nachos, Mexican, Salsa Sauce, Cornmeal, Snacks, Party pleasers 

Continue Reading
3 comments
Share: